Summary
The Dexcom Stelo box includes a sensor that measures glucose for up to 14 days, an overpatch to keep it secure, and a one-time-use applicator for painless insertion on your abdomen or upper arm.
To set up, apply the sensor to a clean, fatty tissue area, then pair it with the Dexcom Stelo app by scanning the QR code on the applicator and setting your alert preferences; monitoring is calibration-free.
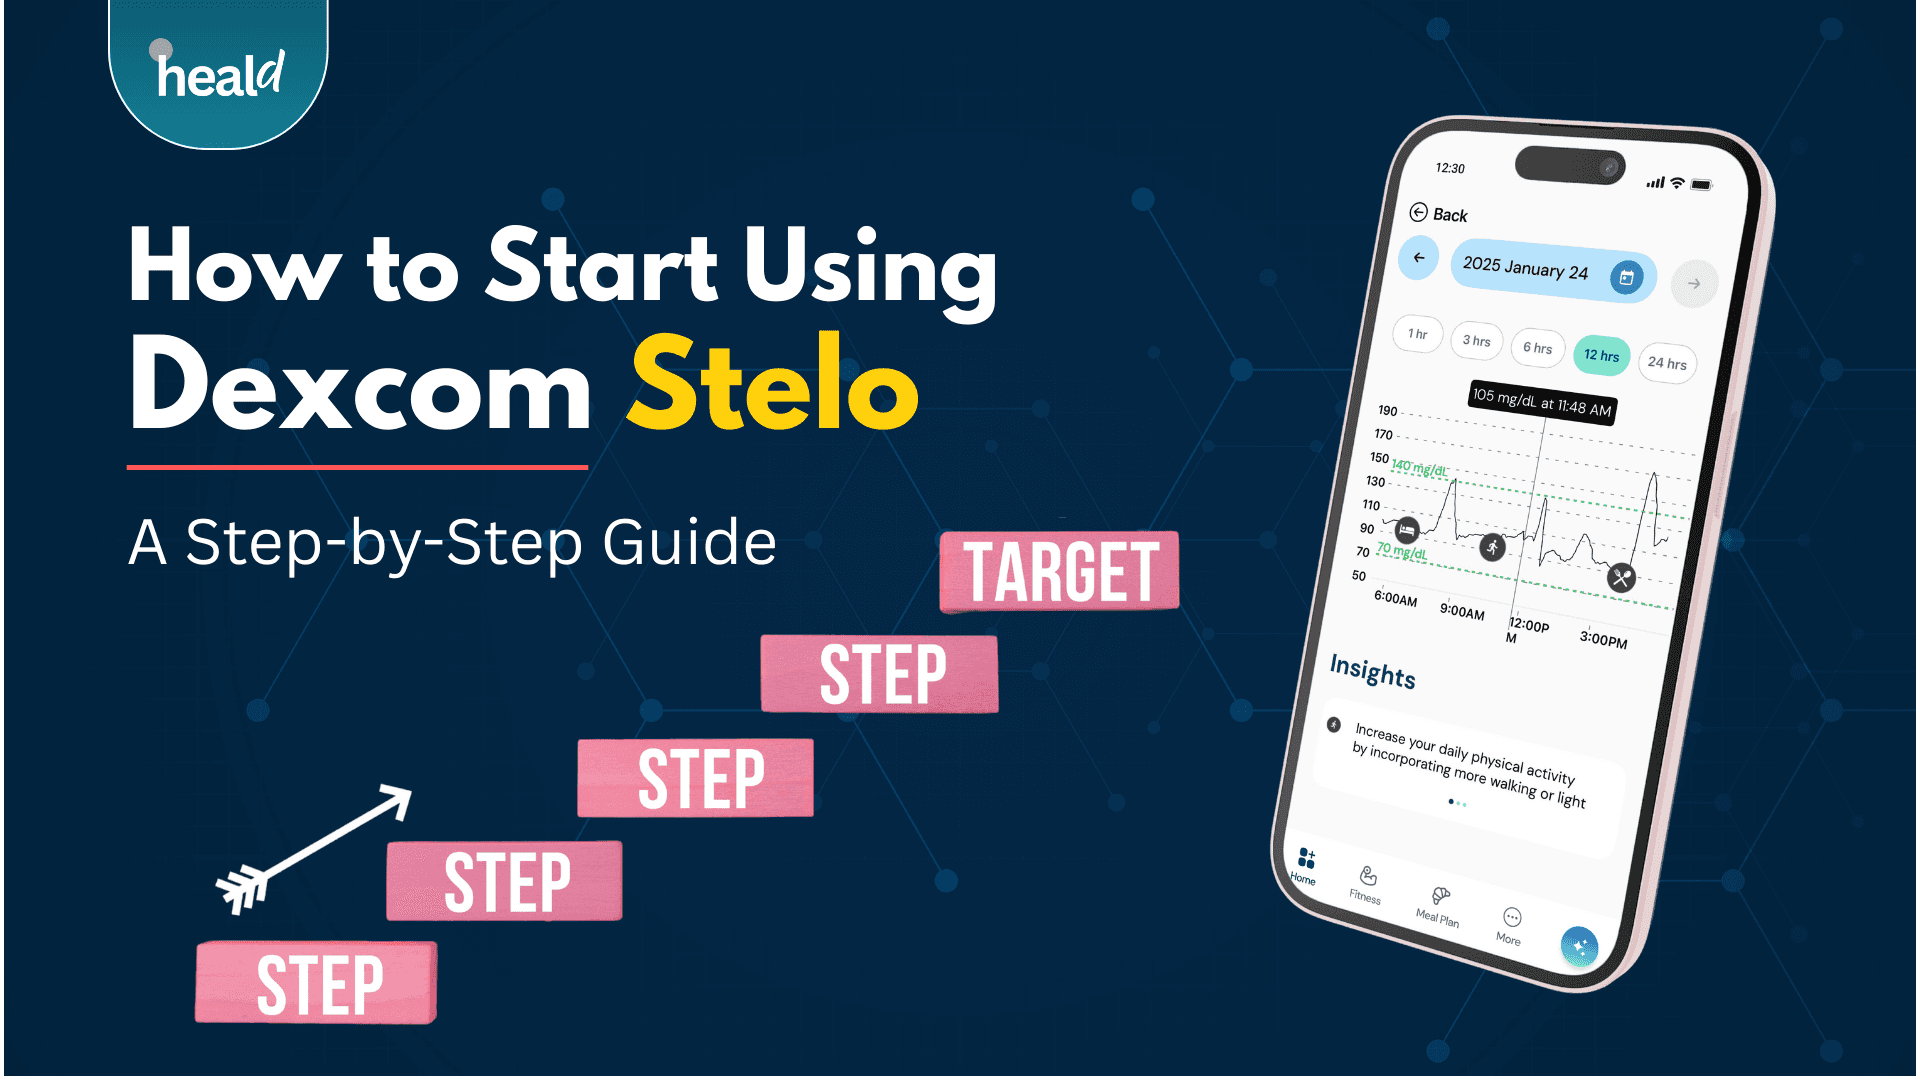
The app shows real-time glucose readings every five minutes as a graph with directional arrows and colors, plus customizable alerts for highs, lows, and rapid trends.
Reviewing daily, weekly, and monthly data (and sharing it with your provider or integrating it with Heald) helps you spot how food, exercise, and medication affect your glucose so you can make more informed choices.
So, you’ve decided to invest in the Dexcom Stelo Glucose Biosensor System—great choice! This Continuous Glucose Monitoring (CGM) device is a game-changer for managing your diabetes, offering real-time insights that can help you make informed decisions about your health. But before you can reap the benefits, you need to get started. In this step-by-step guide, we’ll walk you through everything you need to know to set up and use your Dexcom Stelo effectively.
Unboxing Dexcom Stelo: What’s Inside?
When your Dexcom Stelo arrives, it’s like opening the door to a whole new level of diabetes management. Here’s what’s included:
The Sensor:
What It Does: The sensor is the star of the show, continuously measuring glucose levels beneath your skin for up to 14 days.
Where It Goes: Place it on your abdomen or upper arm, as guided by your healthcare provider.
The Overpatch:
Purpose: Reinforces the sensor placement and ensures it stays securely in place, even with active movement.
Applicator:
Function: A one-time-use applicator designed to painlessly and precisely insert the sensor into your skin.
Setting Up Your Dexcom Stelo
Apply the Sensor:
Step 1: Choose a fatty tissue area—abdomen or upper arm works best.
Step 2: Clean the area thoroughly with an alcohol wipe and let it dry.
Step 3: Use the applicator to insert the sensor. Once placed, secure it with the overpatch provided.
Pair the Sensor with Your Smartphone:
Step 1: Download the Dexcom Stelo app from the App Store or Google Play Store.
Step 2: Open the app and follow the instructions to pair the sensor. Simply scan the QR code from the applicator, and the app will guide you through the rest of the setup.
Step 3: Set your alert preferences to receive notifications about your glucose levels.
Calibration-Free Monitoring:
Dexcom Stelo offers calibration-free monitoring, so there’s no need to manually adjust or check the readings with a traditional glucose meter.
The Heald WA channel is a goldmine of support and information for those on their diabetes reversal journey. Sharing experiences, tips, and triumphs with fellow community members can provide invaluable motivation and practical advice. From meal plans and exercise routines to emotional support and accountability, the collective wisdom within the group can accelerate progress and make the path to diabetes reversal feel less daunting.
How to Read and Interpret Dexcom Stelo Data
Once you’re set up, you’ll start receiving glucose readings every five minutes. But how do you make sense of all this data?
1. Understanding the Glucose Graph:
Real-Time Data: The graph on your app shows your glucose levels in real-time, allowing you to see trends throughout the day.
Arrows and Colors: Arrows indicate the direction your glucose levels are heading (up, down, or steady), while colors can help you quickly identify if you’re in a safe range or need to take action.
2. Setting Alerts:
Custom Alerts: You can customize your alerts to notify you when your glucose levels are too high, too low, or changing rapidly. This is crucial for avoiding dangerous highs or lows.
Trend Alerts: These alerts notify you if your glucose levels are trending up or down quickly, giving you a heads-up to take preventative action.
3. Reviewing Historical Data:
Daily, Weekly, and Monthly Views: The app allows you to view your glucose data over different time periods. This helps you identify patterns—like how your glucose responds to certain foods, activities, or medications.
Sharing Data: You can share your data with your healthcare provider directly through the app, making it easier to adjust your treatment plan as needed.
4. Integrating Data with Heald:
Personalized Insights: When you integrate your Dexcom Stelo data with Heald’s platform, you receive personalized insights and recommendations based on your glucose trends. This helps you make more informed decisions about your diet, exercise, and medication.
5. Actionable Insights:
Post-Meal Monitoring: Use your Dexcom Stelo to see how specific foods impact your glucose levels. This can help you make better dietary choices and avoid foods that cause spikes.
Exercise and Activity: Monitor how physical activity affects your glucose levels in real-time. This is especially useful for planning workouts and knowing when you might need a snack to prevent lows.
Conclusion
Getting started with Dexcom Stelo is a straightforward process that offers powerful benefits for managing your diabetes. From unboxing to interpreting data, this step-by-step guide is designed to help you make the most of your new CGM device. With Dexcom Stelo, you’re not just monitoring your glucose levels—you’re taking control of your health.