+ 1 (469) 960-4325
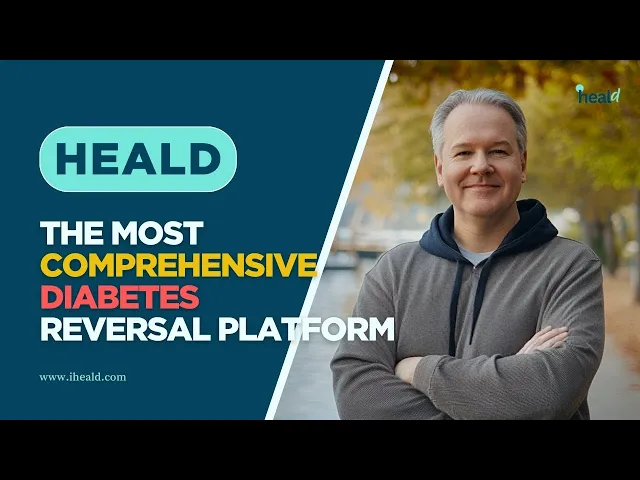
Tailored Health Advice Awaits
Find expert advice tailored to your health journey. From fitness tips to managing chronic conditions,
explore insights that guide you toward a healthier, happier life.
Talks That Transform
Dive into engaging conversations, expert interviews, and health-focused topics designed to inspire and guide your wellness journey.

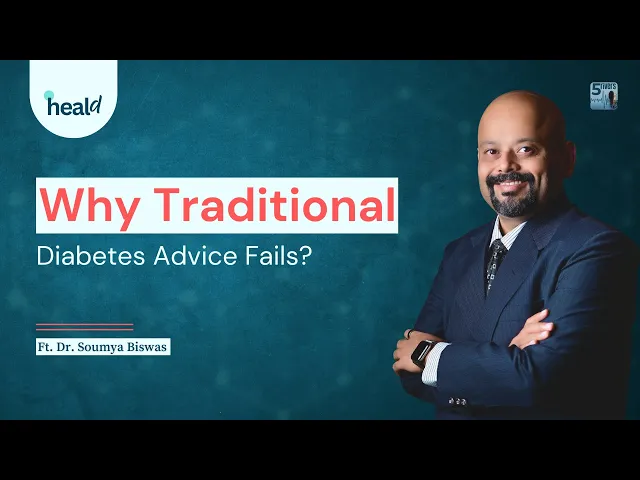
Dr. S Biswas: Why Traditional Diabetes Advice Fails?
22:07 mins
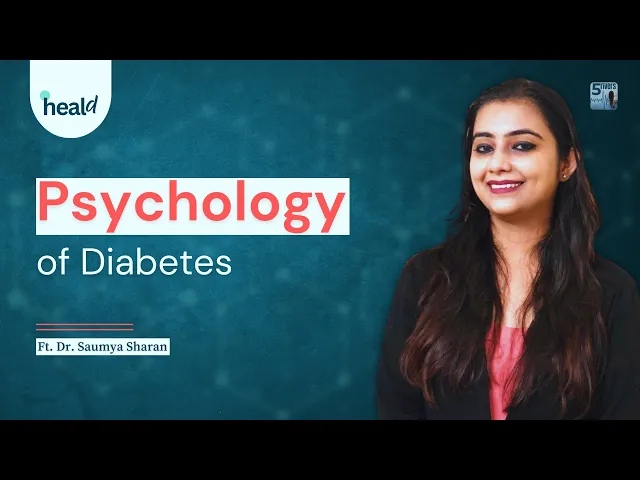
Dr. Saumya Sharan: Psychology of Diabetes
30:17 mins
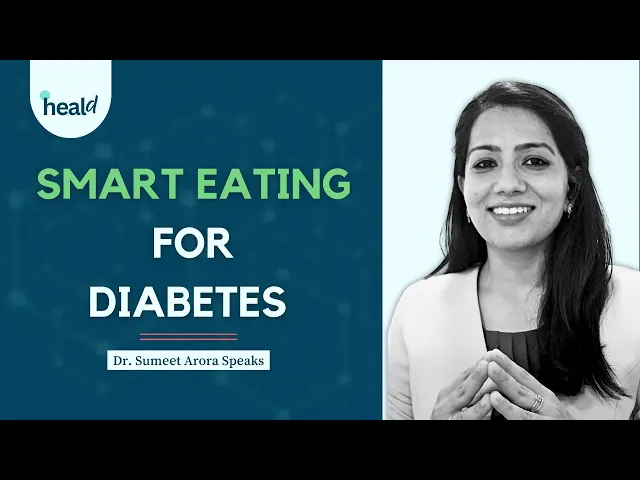
Dr. Sumeet Arora: Smart Eating for Diabetes
01:00:07 mins
Top Read of Heald
Learn practical strategies for improving metabolic health from our recent blogs


Recent Articles
from the Heald Team

Exercising on GLP-1: How to Match Training With Lower Appetite

Diabetes Health Coach Online: Costs vs. Benefits

Online Diabetes Coach vs Diabetologist: Who Do You Need?

Learn why hair loss may happen during GLP-1 treatment | Heald

Online Diabetes Coach Cost: A Price Breakdown

How to Find the Best Diabetes Reversal Program with Coaching


Address:
Completum health Inc,
Tech Alpharetta
925 North Point Parkway, Suite 130, Alpharetta, GA 30005
© Copyright Heald. All Rights Reserved
Tailored Health
Advice Awaits
Find expert advice tailored to your health journey. From fitness tips to managing chronic conditions, explore insights that guide you toward a healthier, happier life.
Top Read of Heald
Learn practical strategies for improving metabolic health from our recent blogs
Recent Articles
from the Heald Team
Exercising on GLP-1: How to Match Training With Lower Appetite
Diabetes Health Coach Online: Costs vs. Benefits
Online Diabetes Coach vs Diabetologist: Who Do You Need?
Learn why hair loss may happen during GLP-1 treatment | Heald
Online Diabetes Coach Cost: A Price Breakdown
How to Find the Best Diabetes Reversal Program with Coaching
Talks that Transform
Dive into engaging conversations, expert interviews, and health-focused topics designed to inspire and guide your wellness journey.
Dr. S Biswas: Why Traditional Diabetes Advice Fails?
22:07 mins
Dr. Saumya Sharan: Psychology of Diabetes
30:17 mins
Dr. Sumeet Arora:
Smart Eating for Diabetes
01:00:07 mins
Address:
Completum health Inc,
Tech Alpharetta
925 North Point Parkway,
Suite 130,
Alpharetta, GA 30005
© Copyright Heald. All Rights Reserved
Address:
Completum health Inc,
Tech Alpharetta
925 North Point Parkway,
Suite 130,
Alpharetta, GA 30005
© Copyright Heald. All Rights Reserved